


Procedure :
1. Wash and soak 1/2 cup of rice, setting them aside for 30 minutes.
2. Meanwhile, soak some saffron in warm milk.
3. In a blender, create a fine powder by blending together 150g rock sugar (kalkandu) and 50g white sugar.
4. In a heavy-bottomed pan, bring 2 cups of water and 2 cups of milk to a boil.
5. Add the soaked rice to the boiling milk mixture and cook on medium heat. Stir occasionally to prevent sticking.
6. If the rice becomes thick, add some hot water and stir.
7. Cook the rice until soft and mushy, approximately 15-20 minutes.
8. Add the powdered kalkandu mixture and mix well.
9. The pongal may become watery again; allow it to simmer until it thickens.
10. In another small pan, heat ghee and roast cashews and cardamom powder. Add this to the pongal along with a pinch of salt and mix well.
11. Simmer for a few more minutes until the pongal reaches the desired consistency.
12. Remove it from the heat.
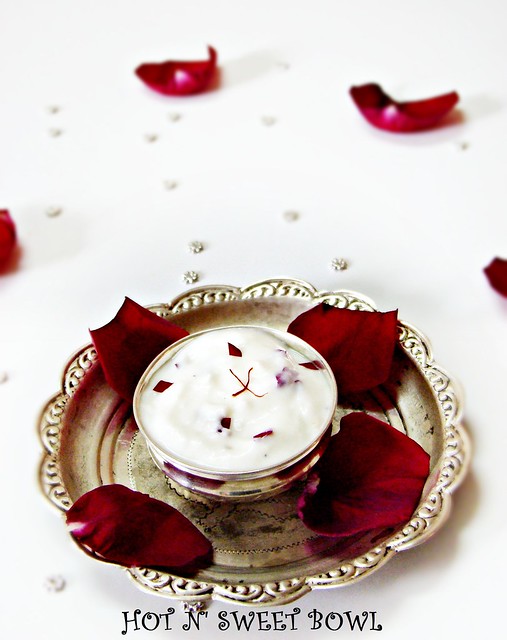
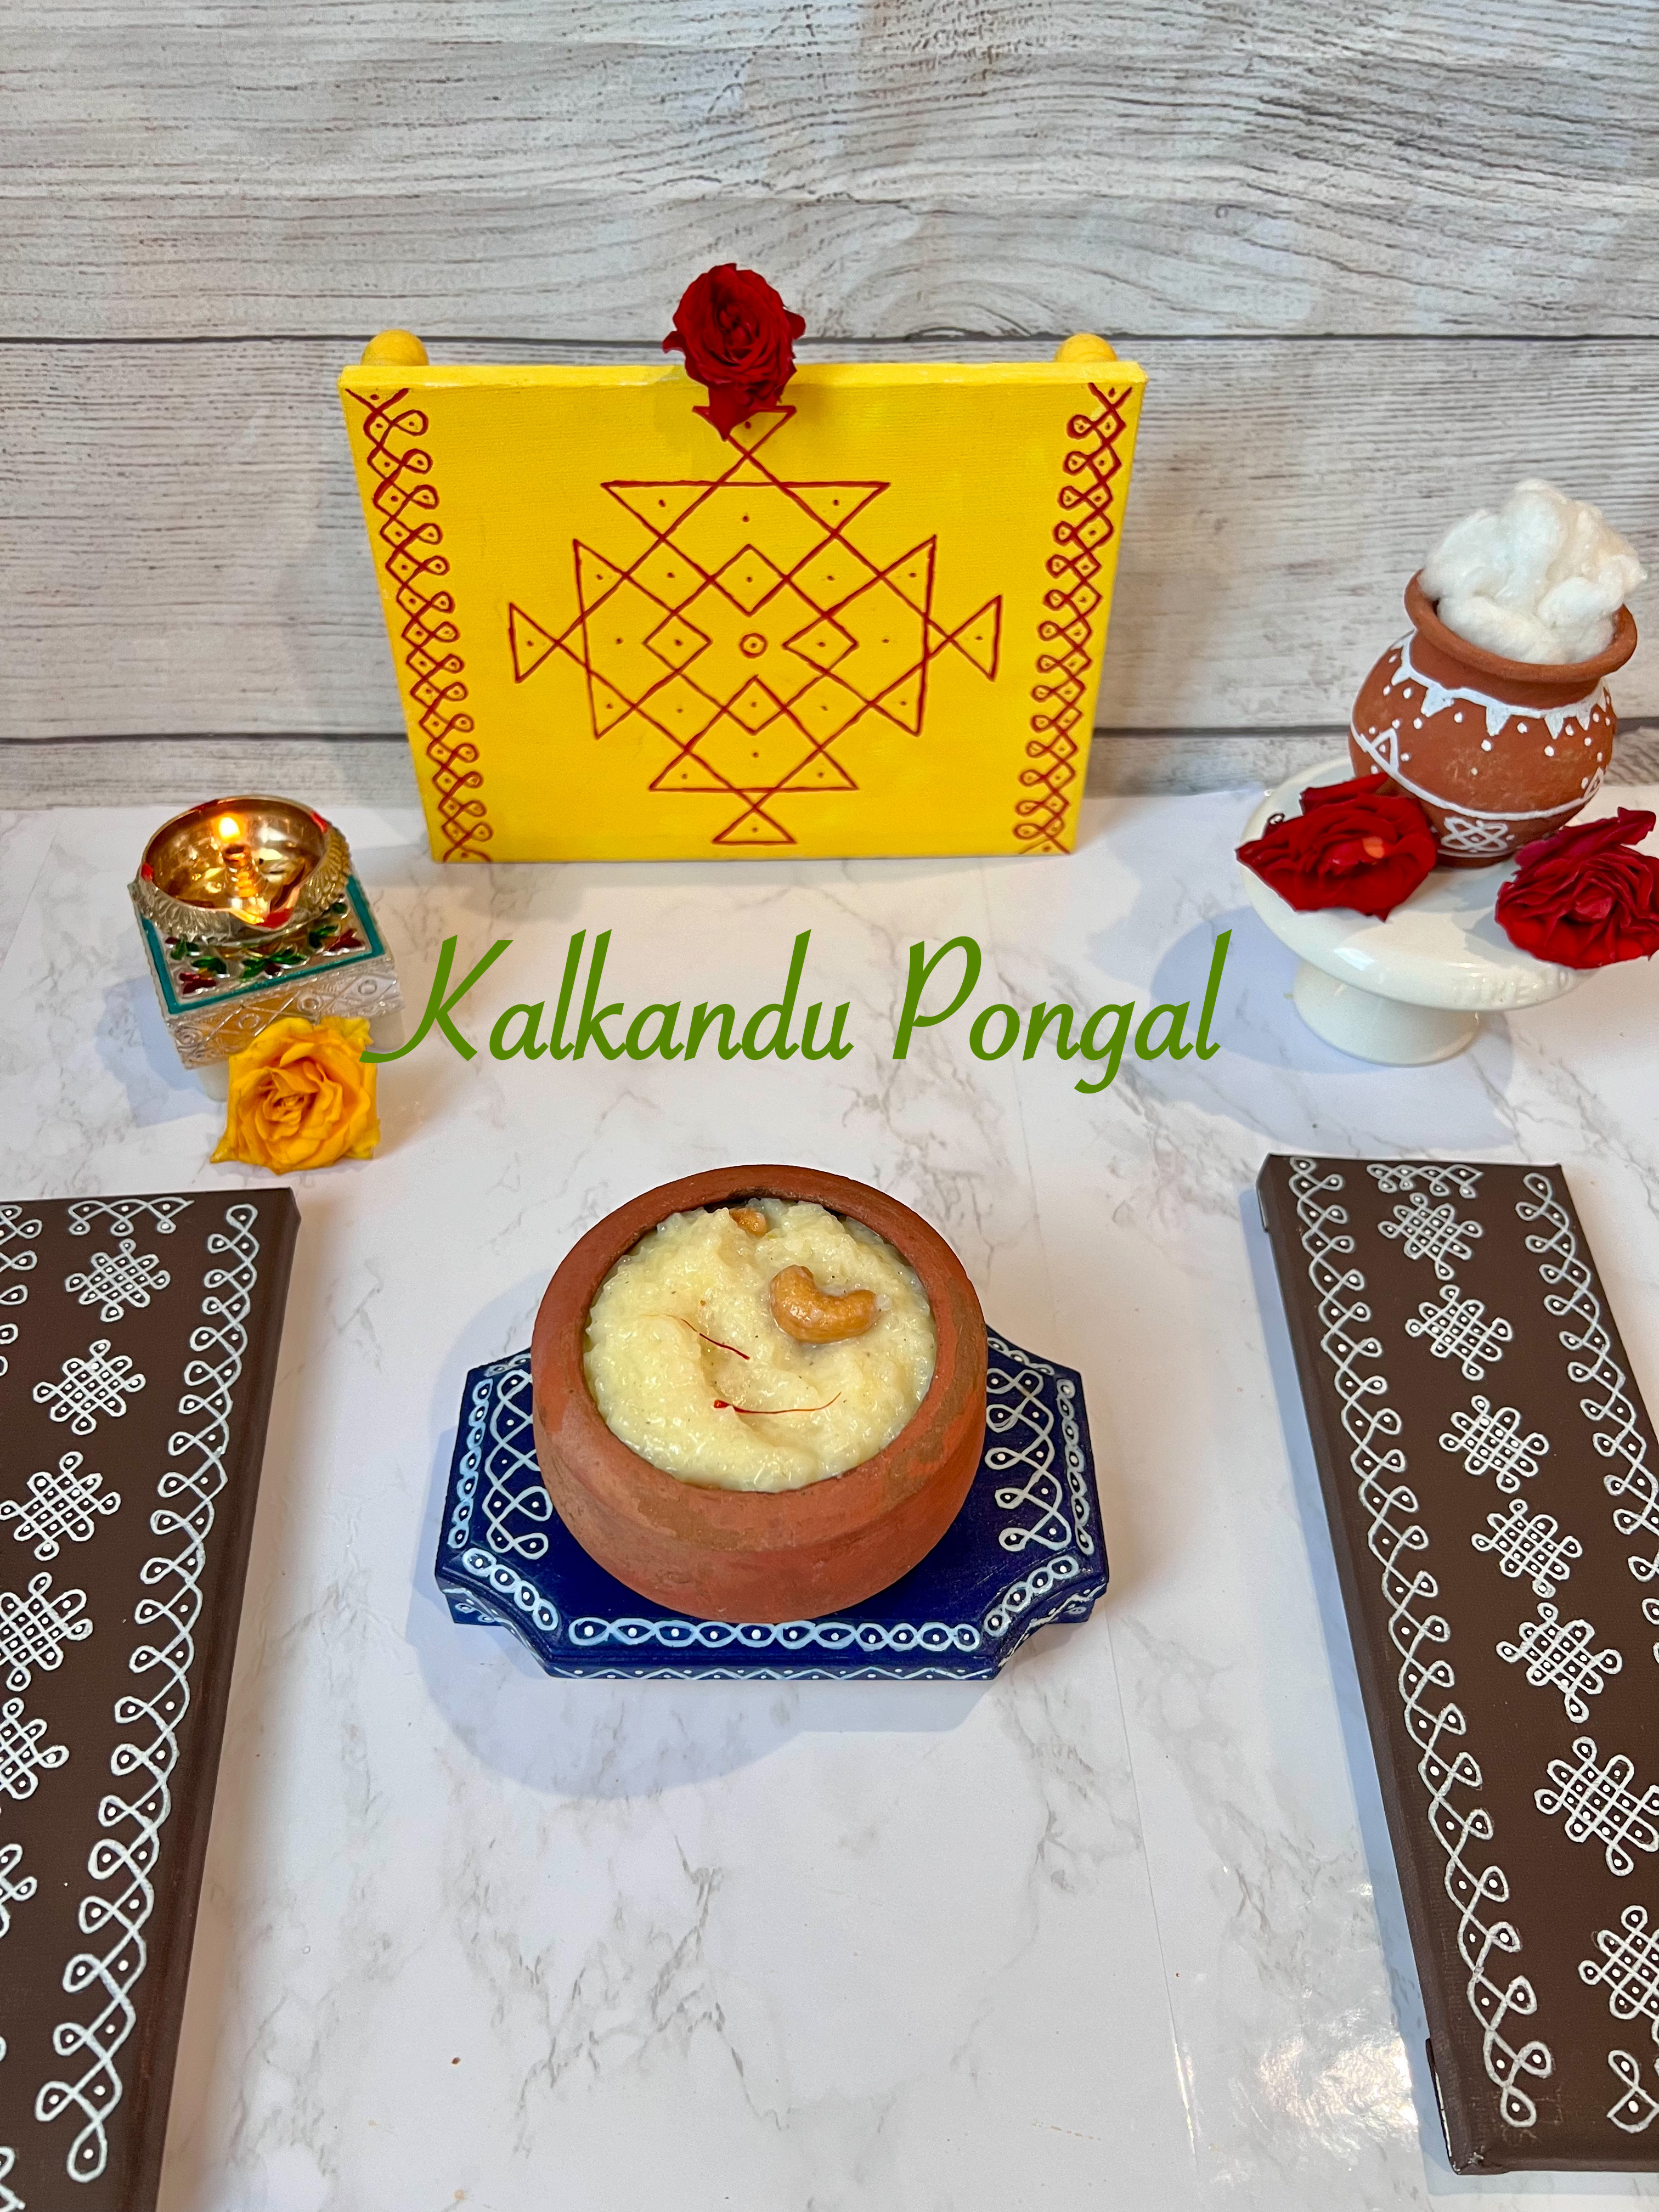
13. Your Kalkandu Pongal is ready to be served. Enjoy it warm as a delightful and sweet treat!